-40%
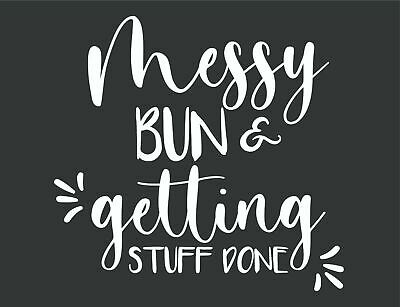
BAD BUNNY DECAL Stickers For Car Truck Window Bumper Laptop Bottle Style #3
$ 3.02
- Description
- Size Guide
Description
BAD BUNNY DECAL Stickers For Car Truck Window Bumper Laptop Bottle Style #3 DECAL ONLYSize: 10cm W x 21cm L
2 Colours:
White
Black
Made with quality vinyl adhesive.
FREE postage with Australia Post Standard Post
The decal is advertised as a car sticker but it can also be applied as a laptop sticker, tablet sticker, wall sticker, mirror sticker, window sticker, van stickers, caravan stickers and motorhome stickers.
Choose your colour from either White or Black from the menu above.
The decal is cut in Australia, using high quality, waterproof vinyl. The sticker comes with application instructions and has the application tape in place for an easier transition to a surface.
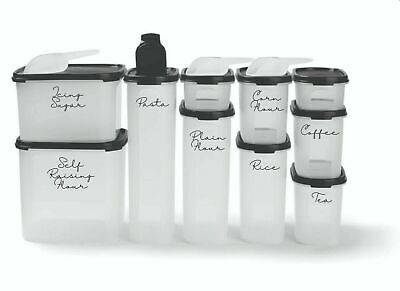
RECOMMENDED USE: Wall Stickers for Kitchen, Kitchen Stickers, Kitchen tile Stickers, Kitchen Wall Stickers, Kitchen Wall Art Stickers High quality, waterproof adhesive vinyl but can also be removed without leaving any damage to a surface. Suitable for a range of smooth surfaces including; Metal, Glass, Tile and Plastic.
DECAL APPLICATION INSTRUCTIONS: (1)Ensure the surface you are applying the decal to is clean, smooth and free from obstruction (2) Very carefully peel the backing off the sticker (3) Carefully apply the sticker to the desired surface (4) Once the sticker is in place use a blunt, flat instrument to flatten the sticker to the surface. Ensure all areas of the sticker(s) are pressed to the surface (5) Carefully peel off any top layers of the sticker(s) if applicable.


